Note: The Business Listings feature is only available to users with addresses in Germany, Switzerland and Austria.
Overview:
Tip 1: Make sure your business category is as accurate as possible
Tip 2: Connect your Facebook and Google Business Profile account
Tip 3: Check the Not Synced publishers and follow the instructions
Tip 4: Keep an eye on your publishers’ status
Tip 1: Make sure your business category is as accurate as possible
1. Navigate to the Business Listings page.
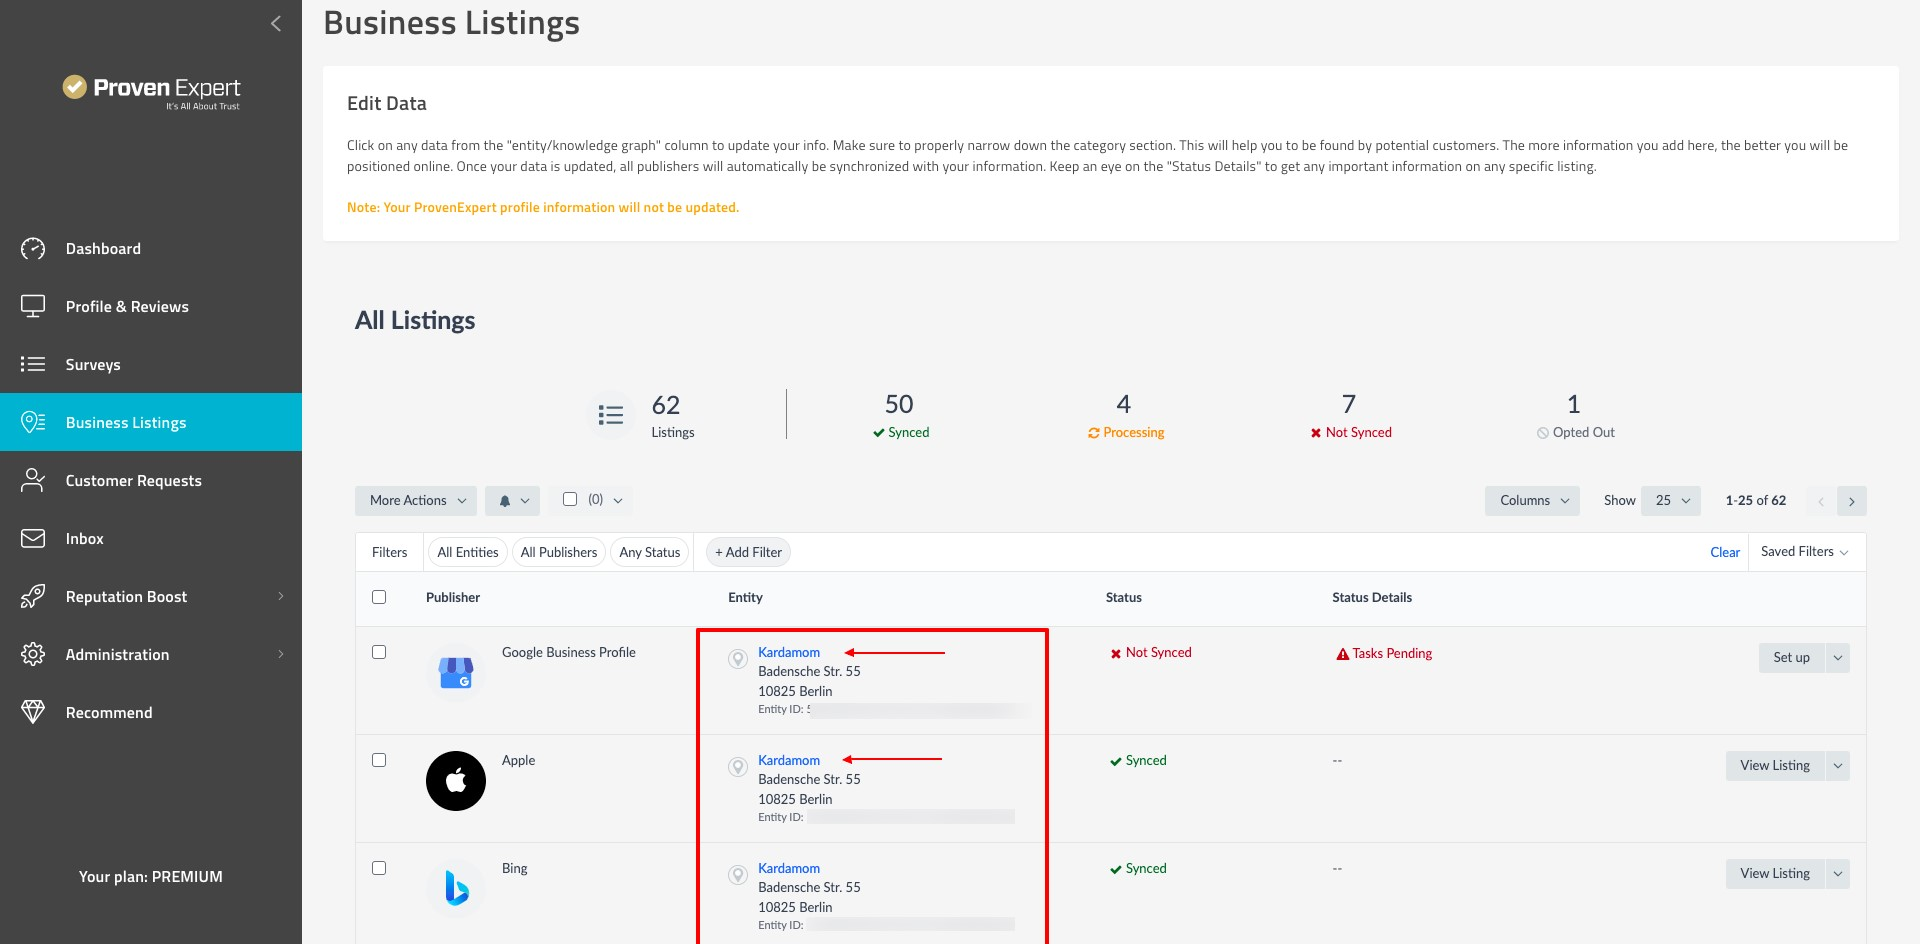
2. Click on your business name in the Entity column, underneath the All Listings section:
3. Hover your mouse on the Categories field underneath the Core Information section:
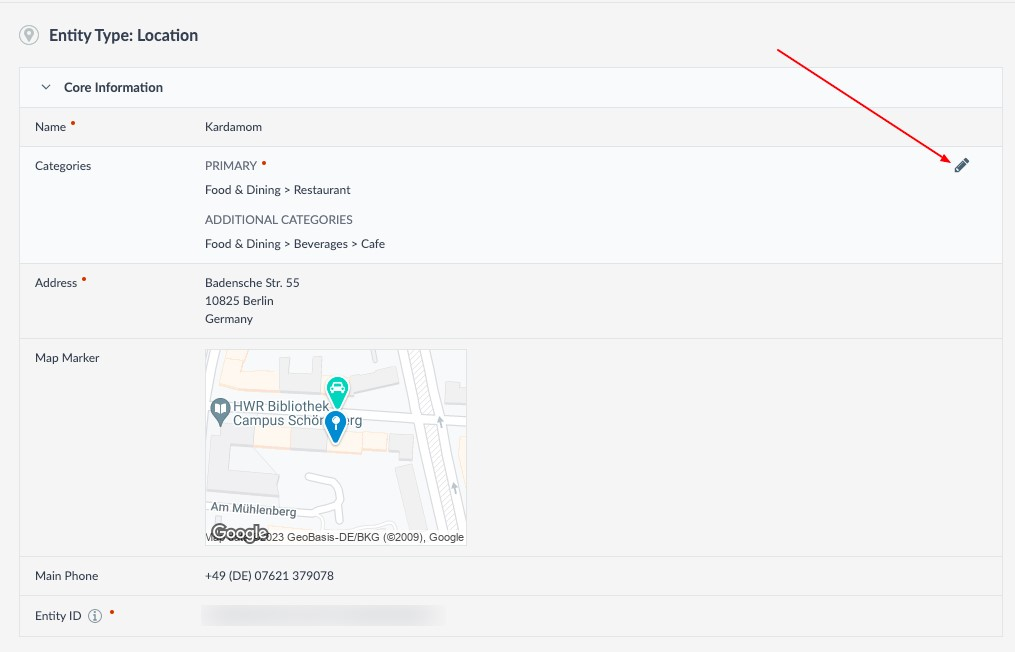
4. Click on the edit icon to see the options:
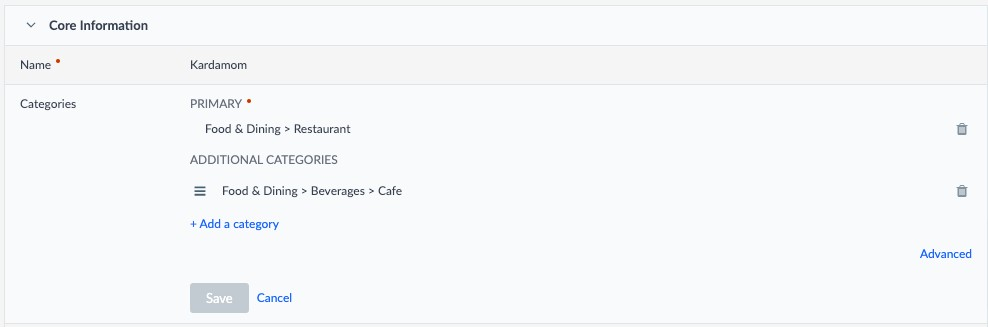
5. Click on +Add a category to add a category:
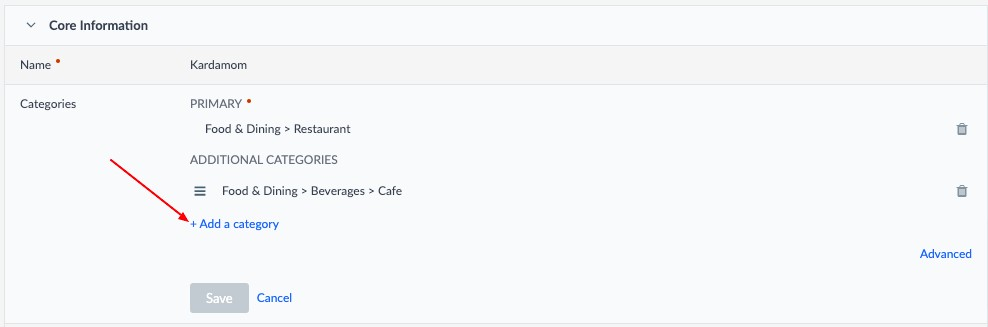
6. To remove a category click on the bin icon:

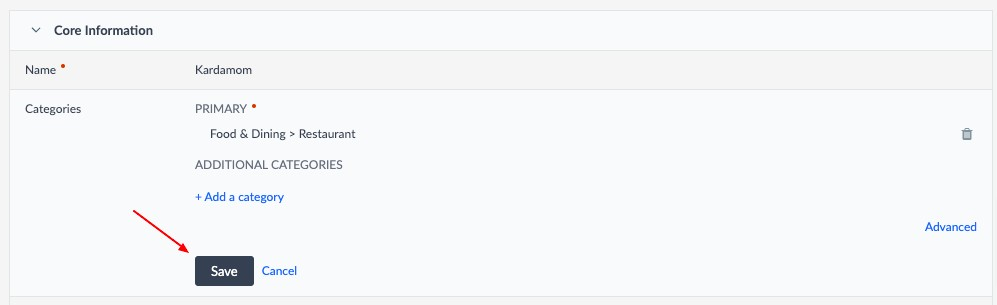
7. Click Save, to save your changes:
Tip 2: Connect your Facebook and Google Business Profile (aka Google my Business) account
Good to know: Facebook and Google Business Profile require account authorization to be able to update your information through Business Listings.
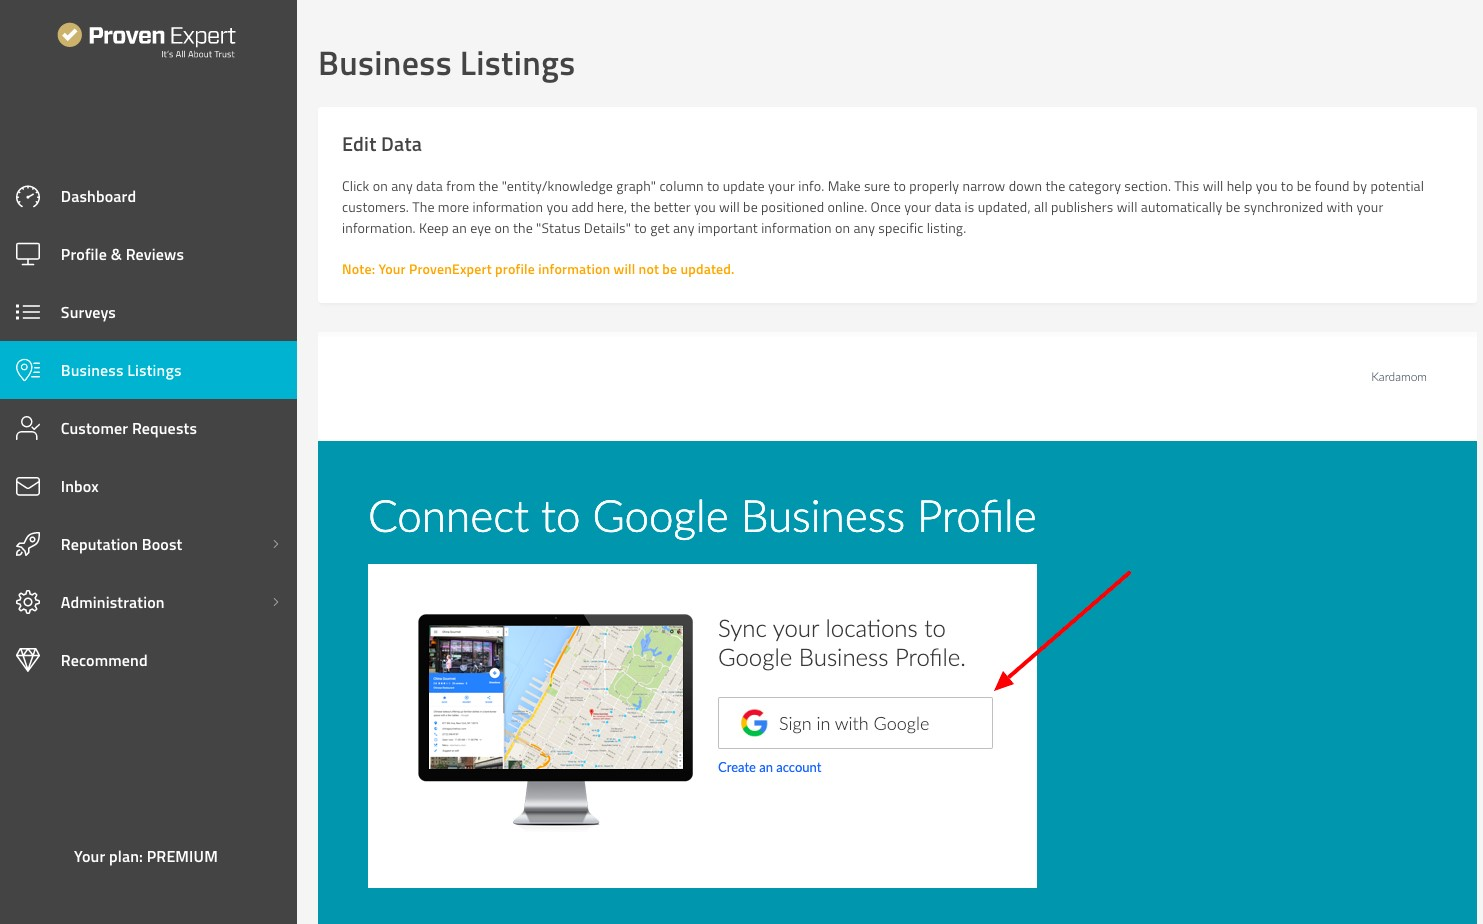
To apply your updates to Google Business Profile (aka Google My Business):
1. Click Set Up on the right side of the Google My Business listing.

2. In the new window, click Sign in with Google, or select the correct account to log into the account that manages the Google Business Profile page. If you don’t have a Google account, click Create an account.
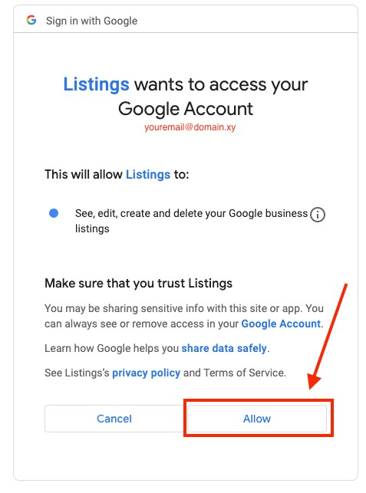
3. Click Allow to accept the permission request.
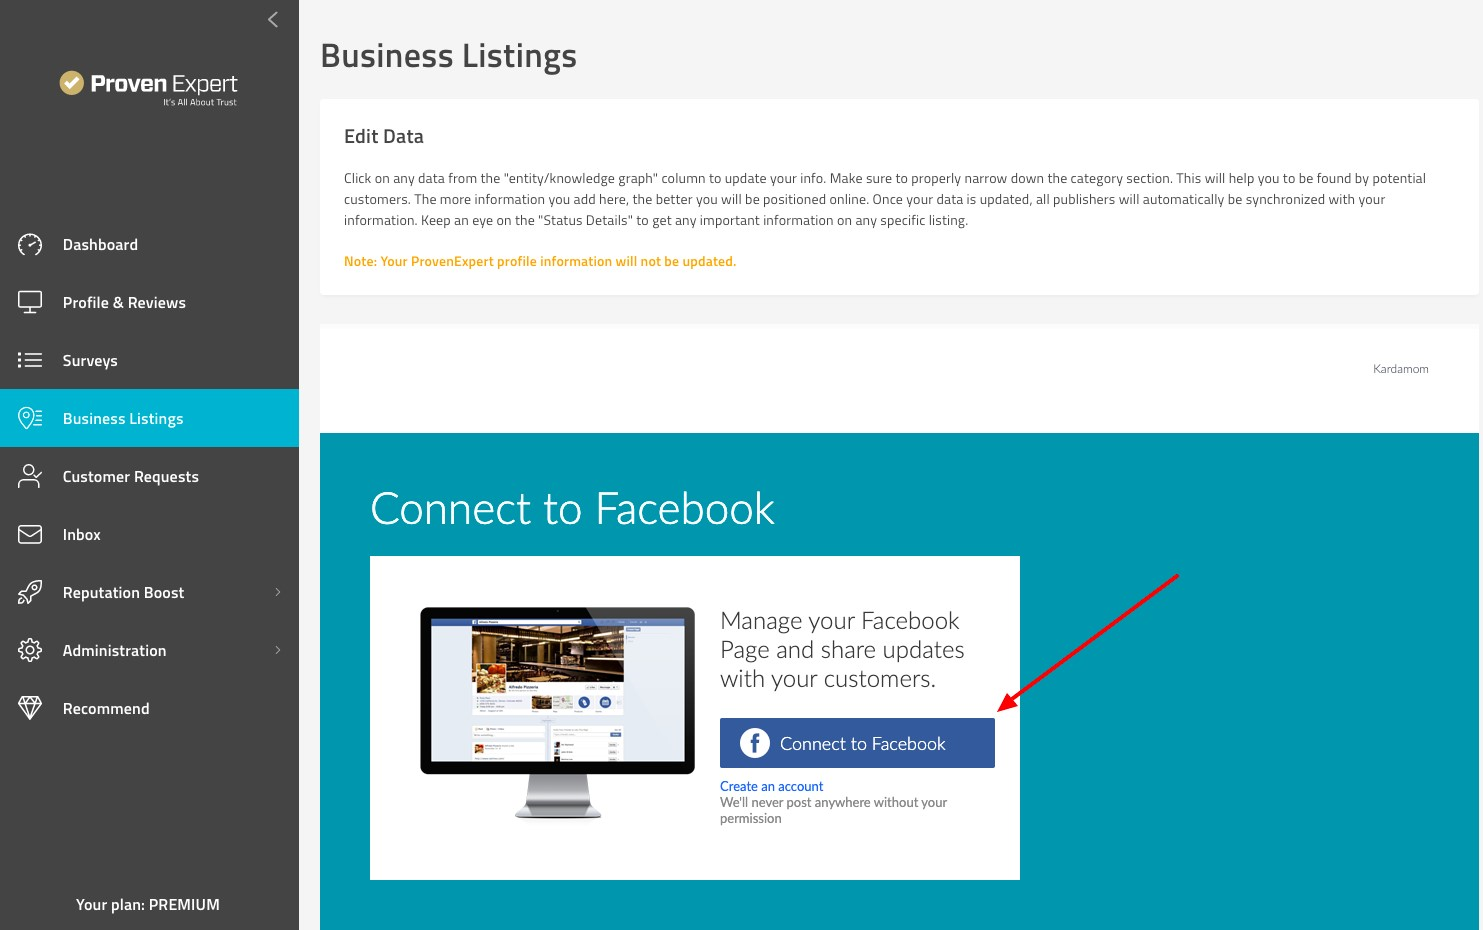
To apply your updates on your Facebook profile, you’ll need to do the following:
1. Click Set Up on the right of the Facebook listing.

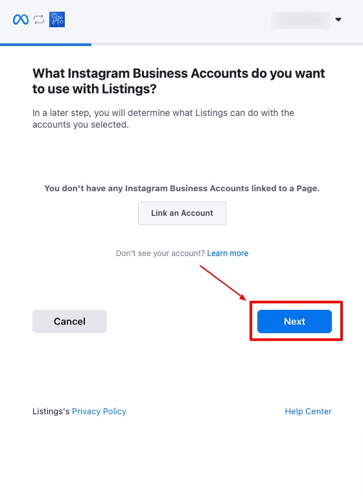
2. In the new window, click Sign in with Facebook, or select the correct account to log into the account that manages the Facebook page. If you don’t have a Facebook account, click Create an account.
3. Click Next.
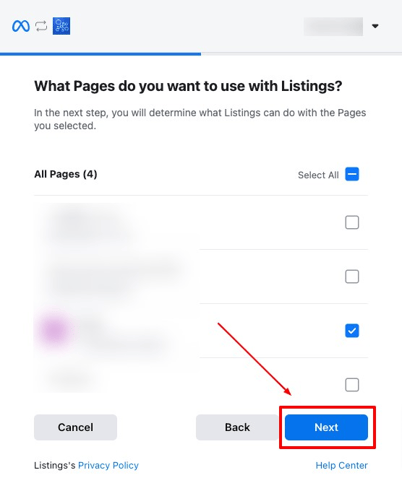
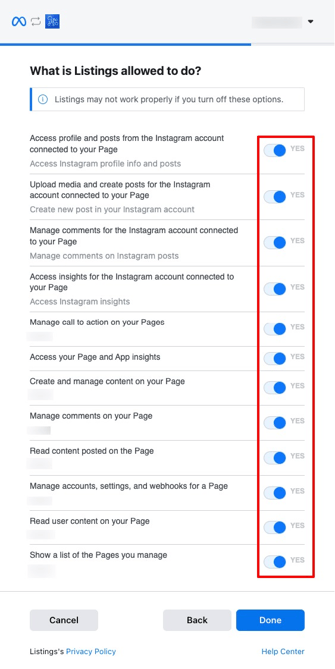
4. If you have more than one page related to your email address, you need to select at least one of them:
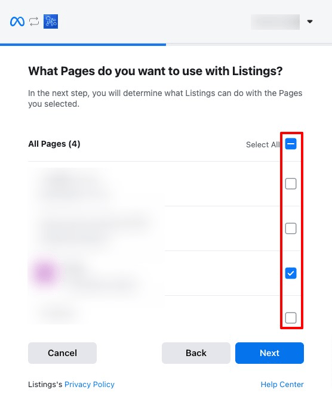
5. Click Next.
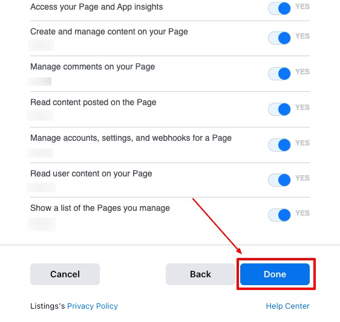
6. Make sure all the permissions are selected and click Done.
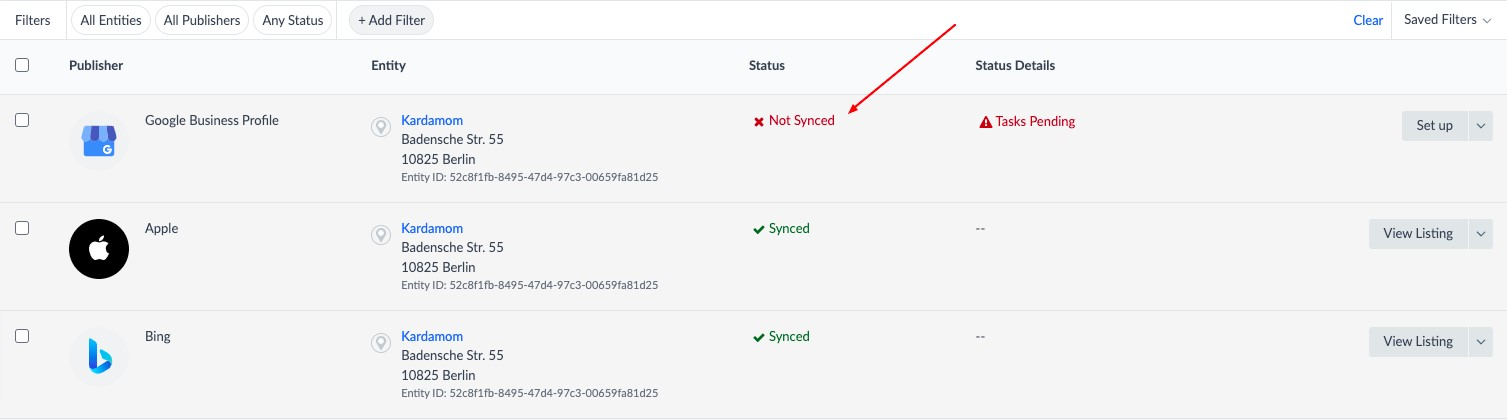
Tip 3: Check the Not Synced publishers and follow the instructions
All listings on the All Listings page have a designated status in the system platform. Here we explain what the Not Synced status means, how to view listings that aren’t synced, and provide more information to resolve listings that aren’t synced. For information on other statuses, see: What is the status column?
Listings may not be synced for a variety of reasons. Some may be fixed by you, while others may need to be resolved by our support. And some are not synced due to publisher limitations, where no further actions need to be taken.
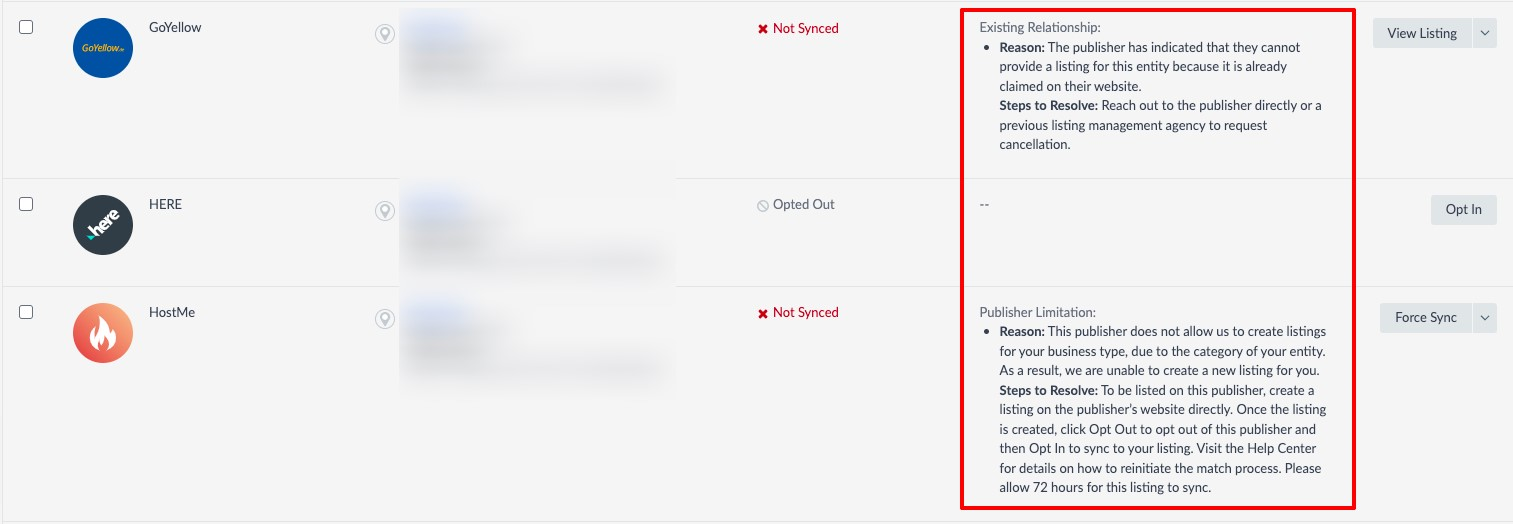
For more information about the Not Synced status, see: What should I do when my business listing in ProvenExpert is on “Not Synced” status?
Tip 4: Keep an eye on your publishers’ status
- Business Listings' ultimate goal is to keep your data as consistent as it can be.
- To gain better results out of it, we recommend checking your publishers' status regularly.
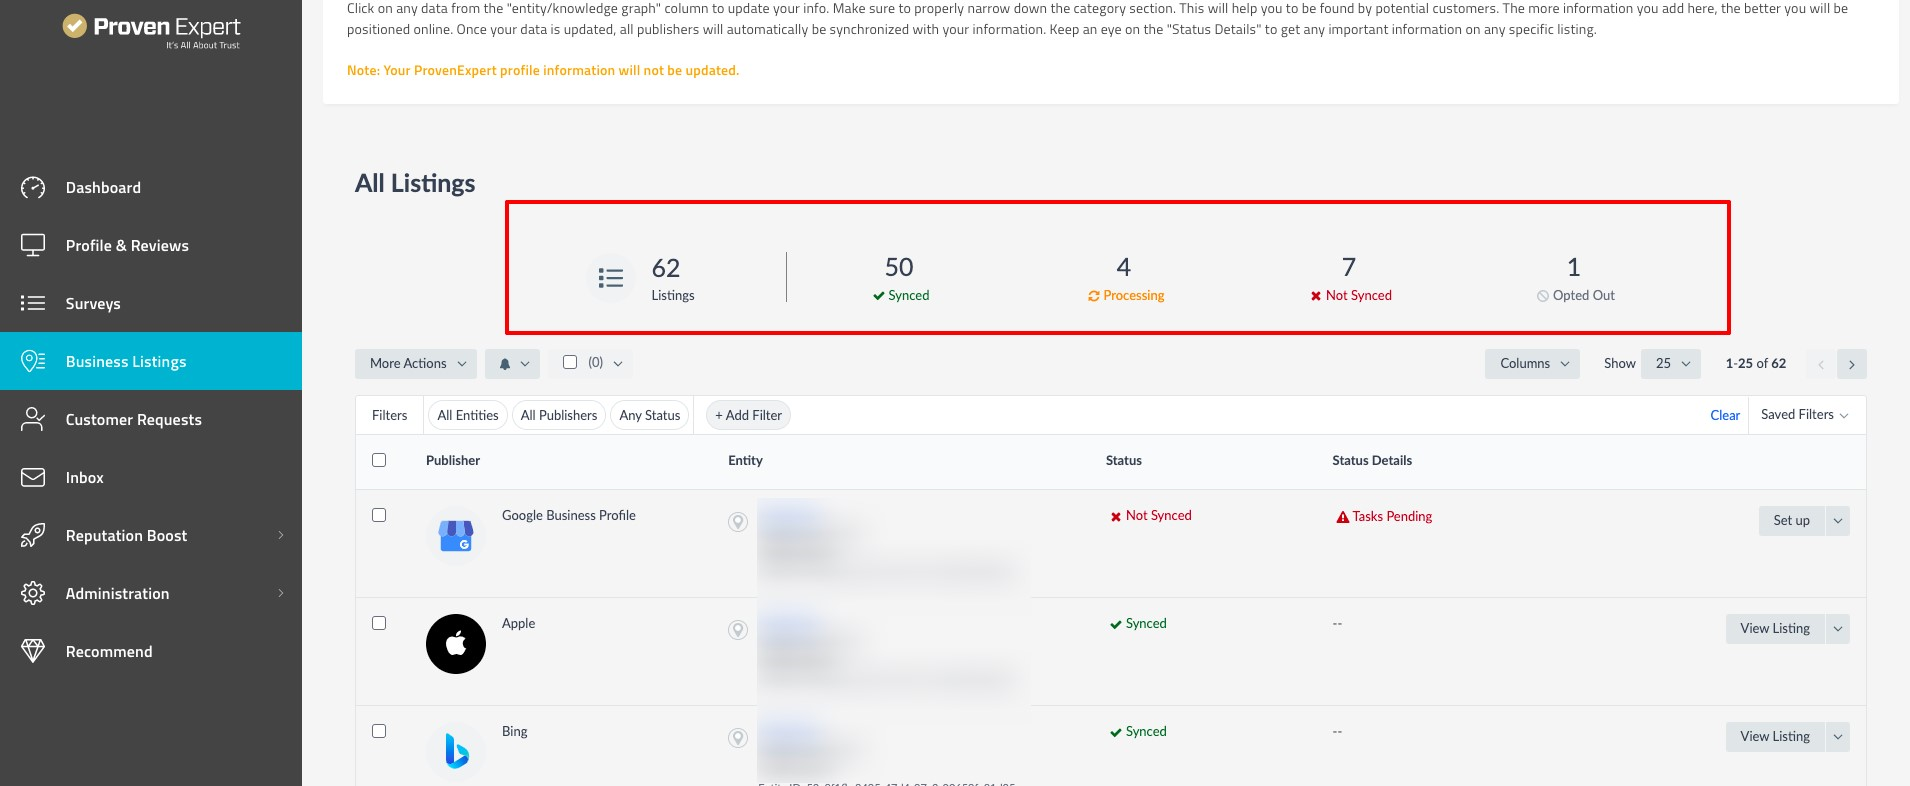
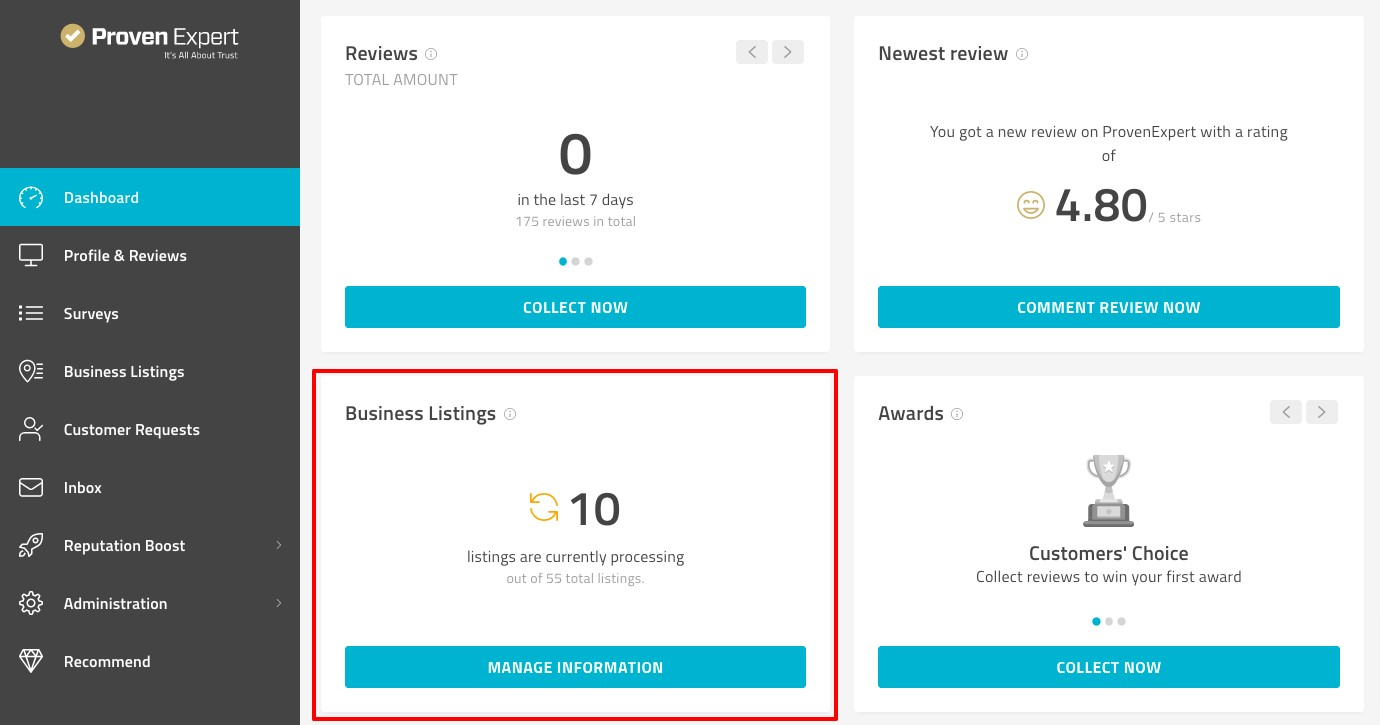
- You can see the number of in-progress listings on your dashboard on the Business Listings widget:
- You can find the summary of your listings status on the Business Listings page: